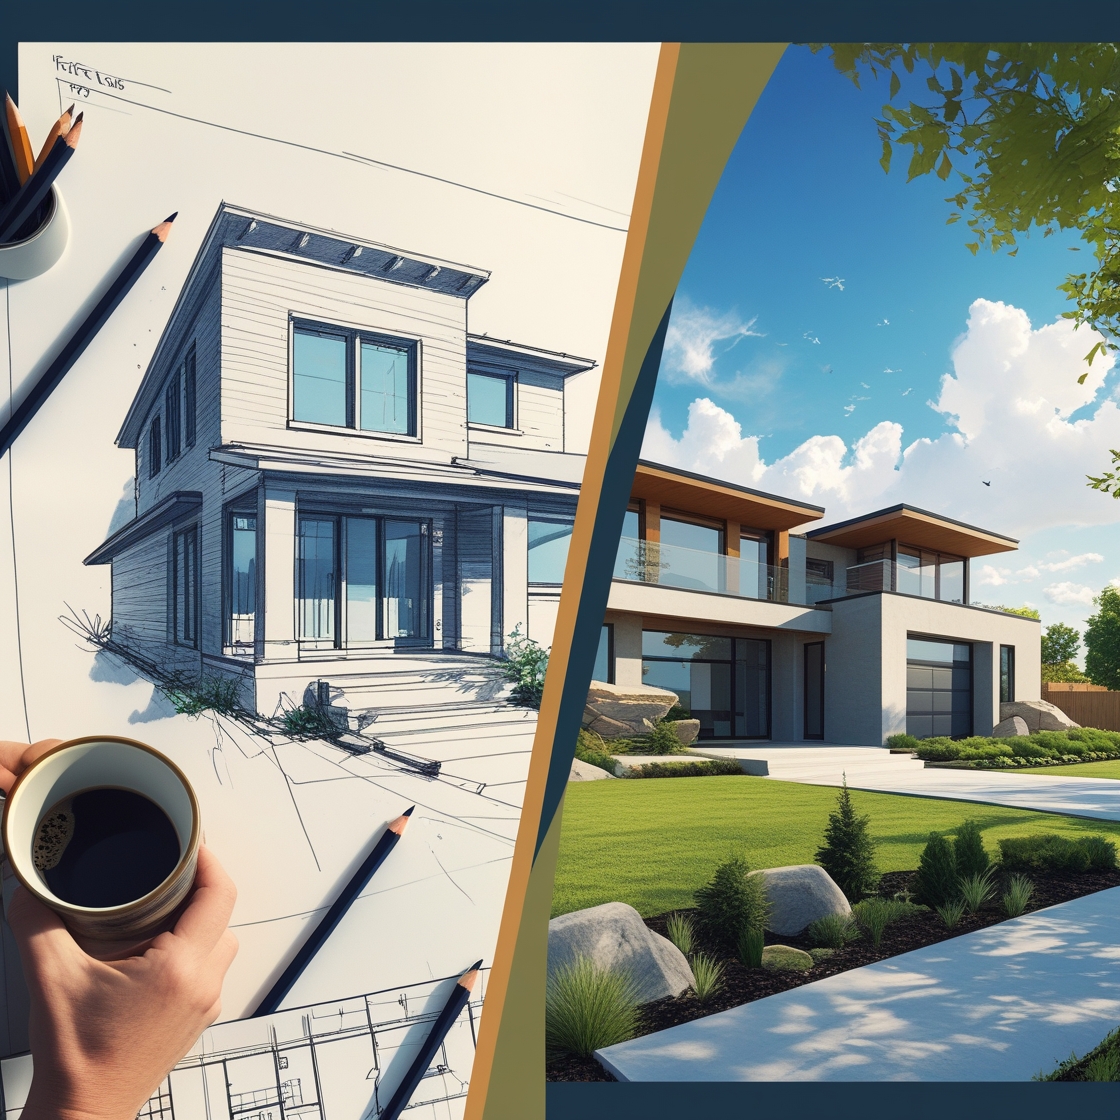
From Sketch to Structure: The Process of Designing a Custom Home
Designing a custom home is more than just choosing tiles and colors—it’s a journey from imagination to reality. Every dream home starts with a simple sketch, and through planning, collaboration, and execution, that sketch transforms into a physical structure. In this article, we’ll walk you through each critical stage of the custom home design process—from the initial concept to the final build.
Why Choose a Custom Home?
A custom home offers unmatched flexibility and personalization. Instead of adjusting your lifestyle to fit a pre-built home, you get to design a space that fits your exact needs, taste, and future plans.
Key Benefits of Custom Home Design:
-
Full control over layout and features
-
Better use of land and orientation
-
Integration of energy-efficient and smart home technology
-
Reflects personal aesthetics and lifestyle
Step 1 – Initial Consultation and Brainstorming
The process begins with understanding the client’s vision. Architects or designers meet with homeowners to discuss their goals, budget, and any specific requirements.
What’s Covered in This Step:
-
Number of rooms, style preferences, lifestyle needs
-
Site location, budget, timeline expectations
-
Collecting inspiration: sketches, Pinterest boards, photos
The goal is to transform vague ideas into clear, actionable design elements.
Step 2 – Site Analysis and Surveying
Before putting pen to paper, professionals evaluate the building site. Understanding the land’s slope, soil type, sunlight direction, and zoning laws is essential to avoid costly surprises later.
Why Site Analysis Matters:
-
Ensures compliance with local building regulations
-
Helps determine house orientation for natural light
-
Reveals potential challenges like drainage or access
Step 3 – Sketching the Concept Design
This is where ideas begin to take shape. Architects produce rough floor plans and elevation sketches based on the client’s input and site details.
Deliverables at This Stage:
-
Floor plans showing room arrangement
-
Front, side, and rear elevation sketches
-
Conceptual 3D perspectives (optional)
These early sketches serve as the first draft of the dream home.
Step 4 – Developing Detailed House Plans
Once the concept is approved, the rough sketches evolve into detailed architectural plans using software like AutoCAD.
What’s Included in Detailed Plans:
-
Scaled 2D drawings with dimensions
-
Electrical and plumbing layouts
-
Roof and foundation plans
-
Cross-sections and construction details
These documents are essential for approvals, permits, and construction.
Step 5 – 3D Modeling and Visualization
Modern home design includes 3D modeling using tools like SketchUp, Lumion, or Revit. These visualizations allow clients to experience the look and feel of their future home.
Benefits of 3D Visualization:
-
Detect design flaws early
-
Improve communication with clients
-
Help choose colors, materials, and lighting
-
Great for marketing if building to sell
Step 6 – Obtaining Permits and Approvals
Before construction begins, legal permissions must be secured from the relevant municipal authorities. This step can vary depending on your location.
Common Approvals Required:
-
Zoning clearance
-
Building permit
-
Utility connections
-
Environmental and safety certifications
Your architect or contractor often handles this paperwork on your behalf.
Step 7 – Construction Begins
Once everything is approved, the construction team breaks ground. With accurate AutoCAD plans in hand, the builders follow a systematic process from foundation to roofing.
Key Phases of Construction:
-
Excavation and laying foundation
-
Framing and structural work
-
Plumbing, electrical, and HVAC installation
-
Finishes: flooring, painting, cabinetry
-
Final inspection and handover
Step 8 – Final Walkthrough and Handover
The last step involves a thorough walkthrough with the client. Any small issues (snag list) are identified and resolved before the home is officially handed over.
After-Handover Services May Include:
-
Warranty on structure or appliances
-
Maintenance guide
-
Support for future upgrades or additions
Conclusion: Turning Dreams into Reality
Designing a custom home is a rewarding journey that combines creativity, technical expertise, and careful planning. From the first pencil sketch to the final brick laid, each step matters. By working closely with experienced architects and contractors, homeowners can ensure their vision becomes a structure that stands strong for generations.